Thoughts, opinions and handy hints from our expert team.
Expert Opinion
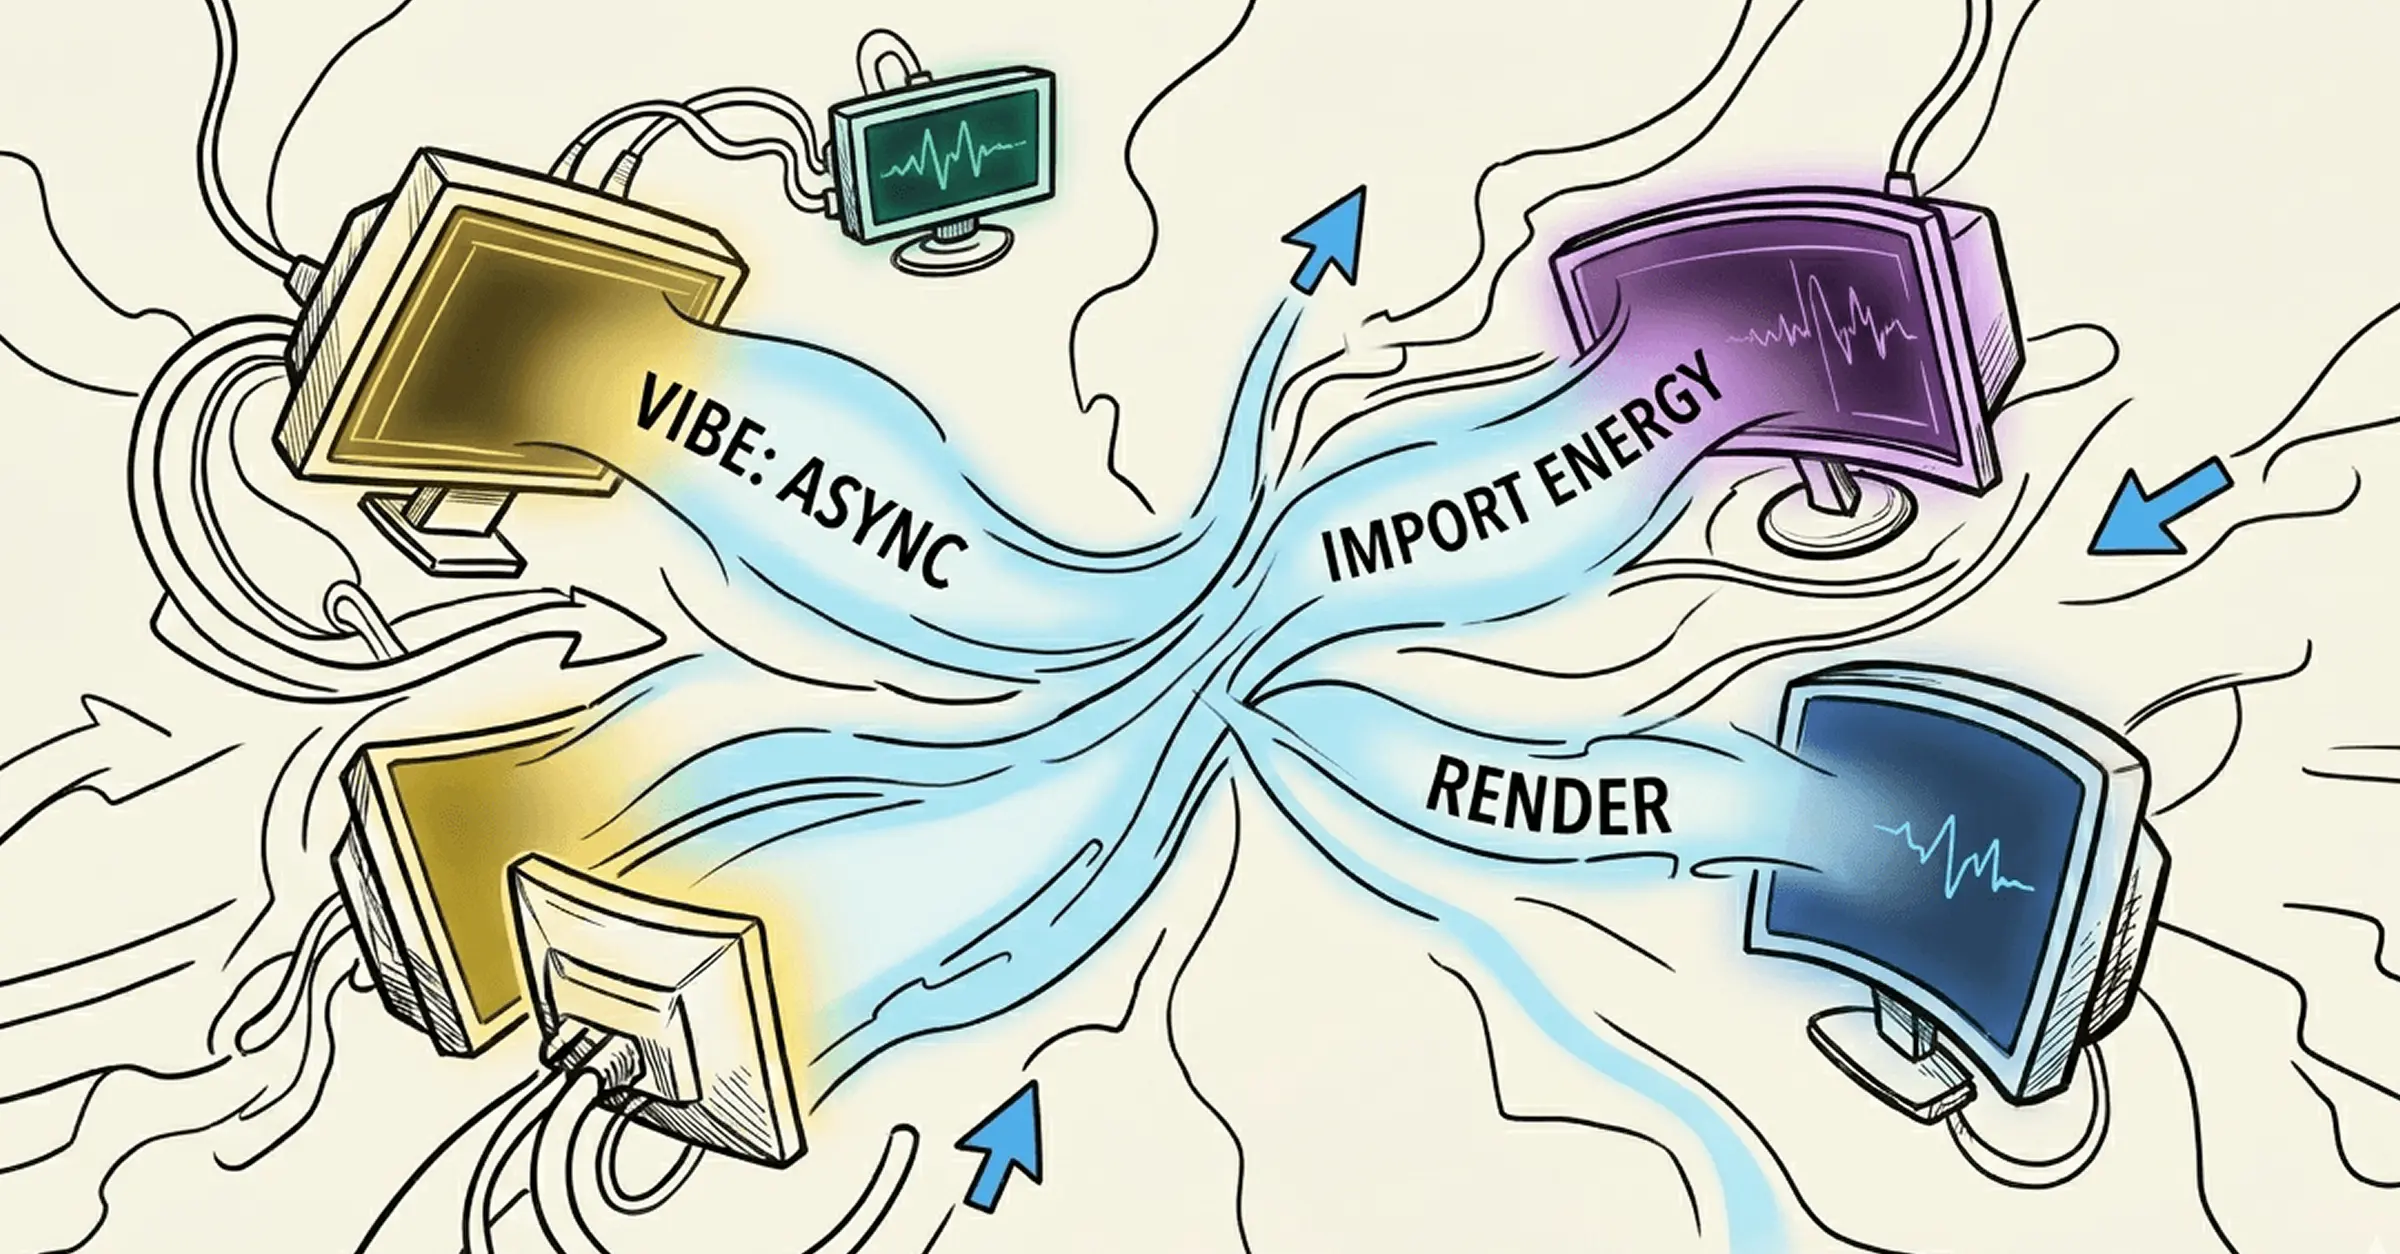
Vibe coding is a way of building software by describing what you want in plain language and letting an AI generate the code for you. You direct the outcome; the AI handles the implementation. If something breaks, you describe the problem and the AI fixes it. The code itself becomes almost incidental.
By
Mel Sheppard
//
March 27, 2026
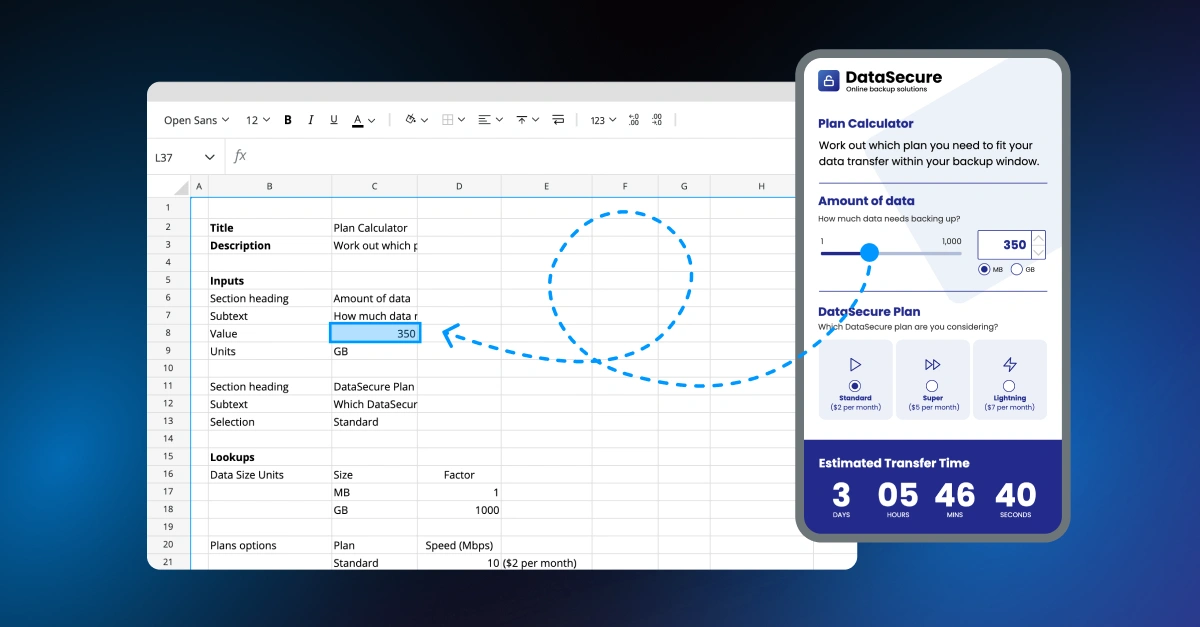
A no-code platform lets you build apps, tools, and dashboards without writing code. This guide explains how they work, who they're for, and where to start.
February 10, 2026
News & Announcements
Squirrel365 celebrates a year of growth, engagement and game changing innovation with our 2025 year in review.
January 8, 2026
Product
Explore what’s new in the Squirrel365 release, with enhanced mobile previews, a rebuilt date picker, AI model support, and a new HubSpot connector — all designed to help you build better no-code apps.
October 8, 2025
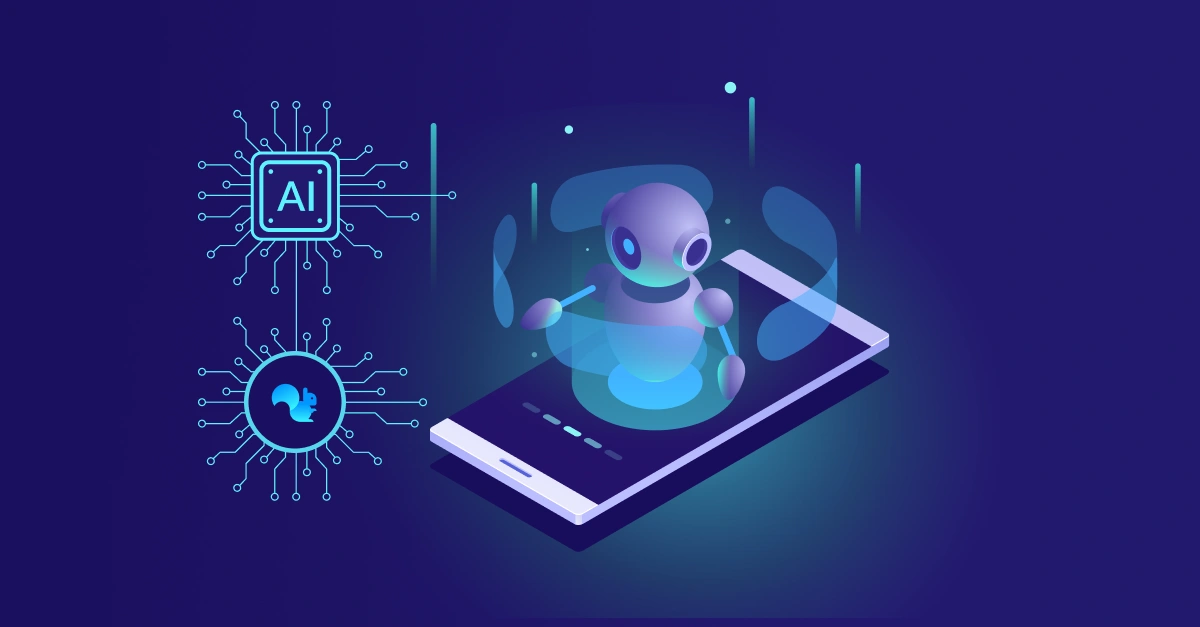
Our CTO explains how he envisages AI and Squirrel365 working together to empower developers rather than replace them in no-code platforms.
Rich Harvey
September 18, 2025
Explore what’s new in the Squirrel365 release, with designer improvements and new AI functions and components — all designed to help you build better no-code apps.
August 6, 2025
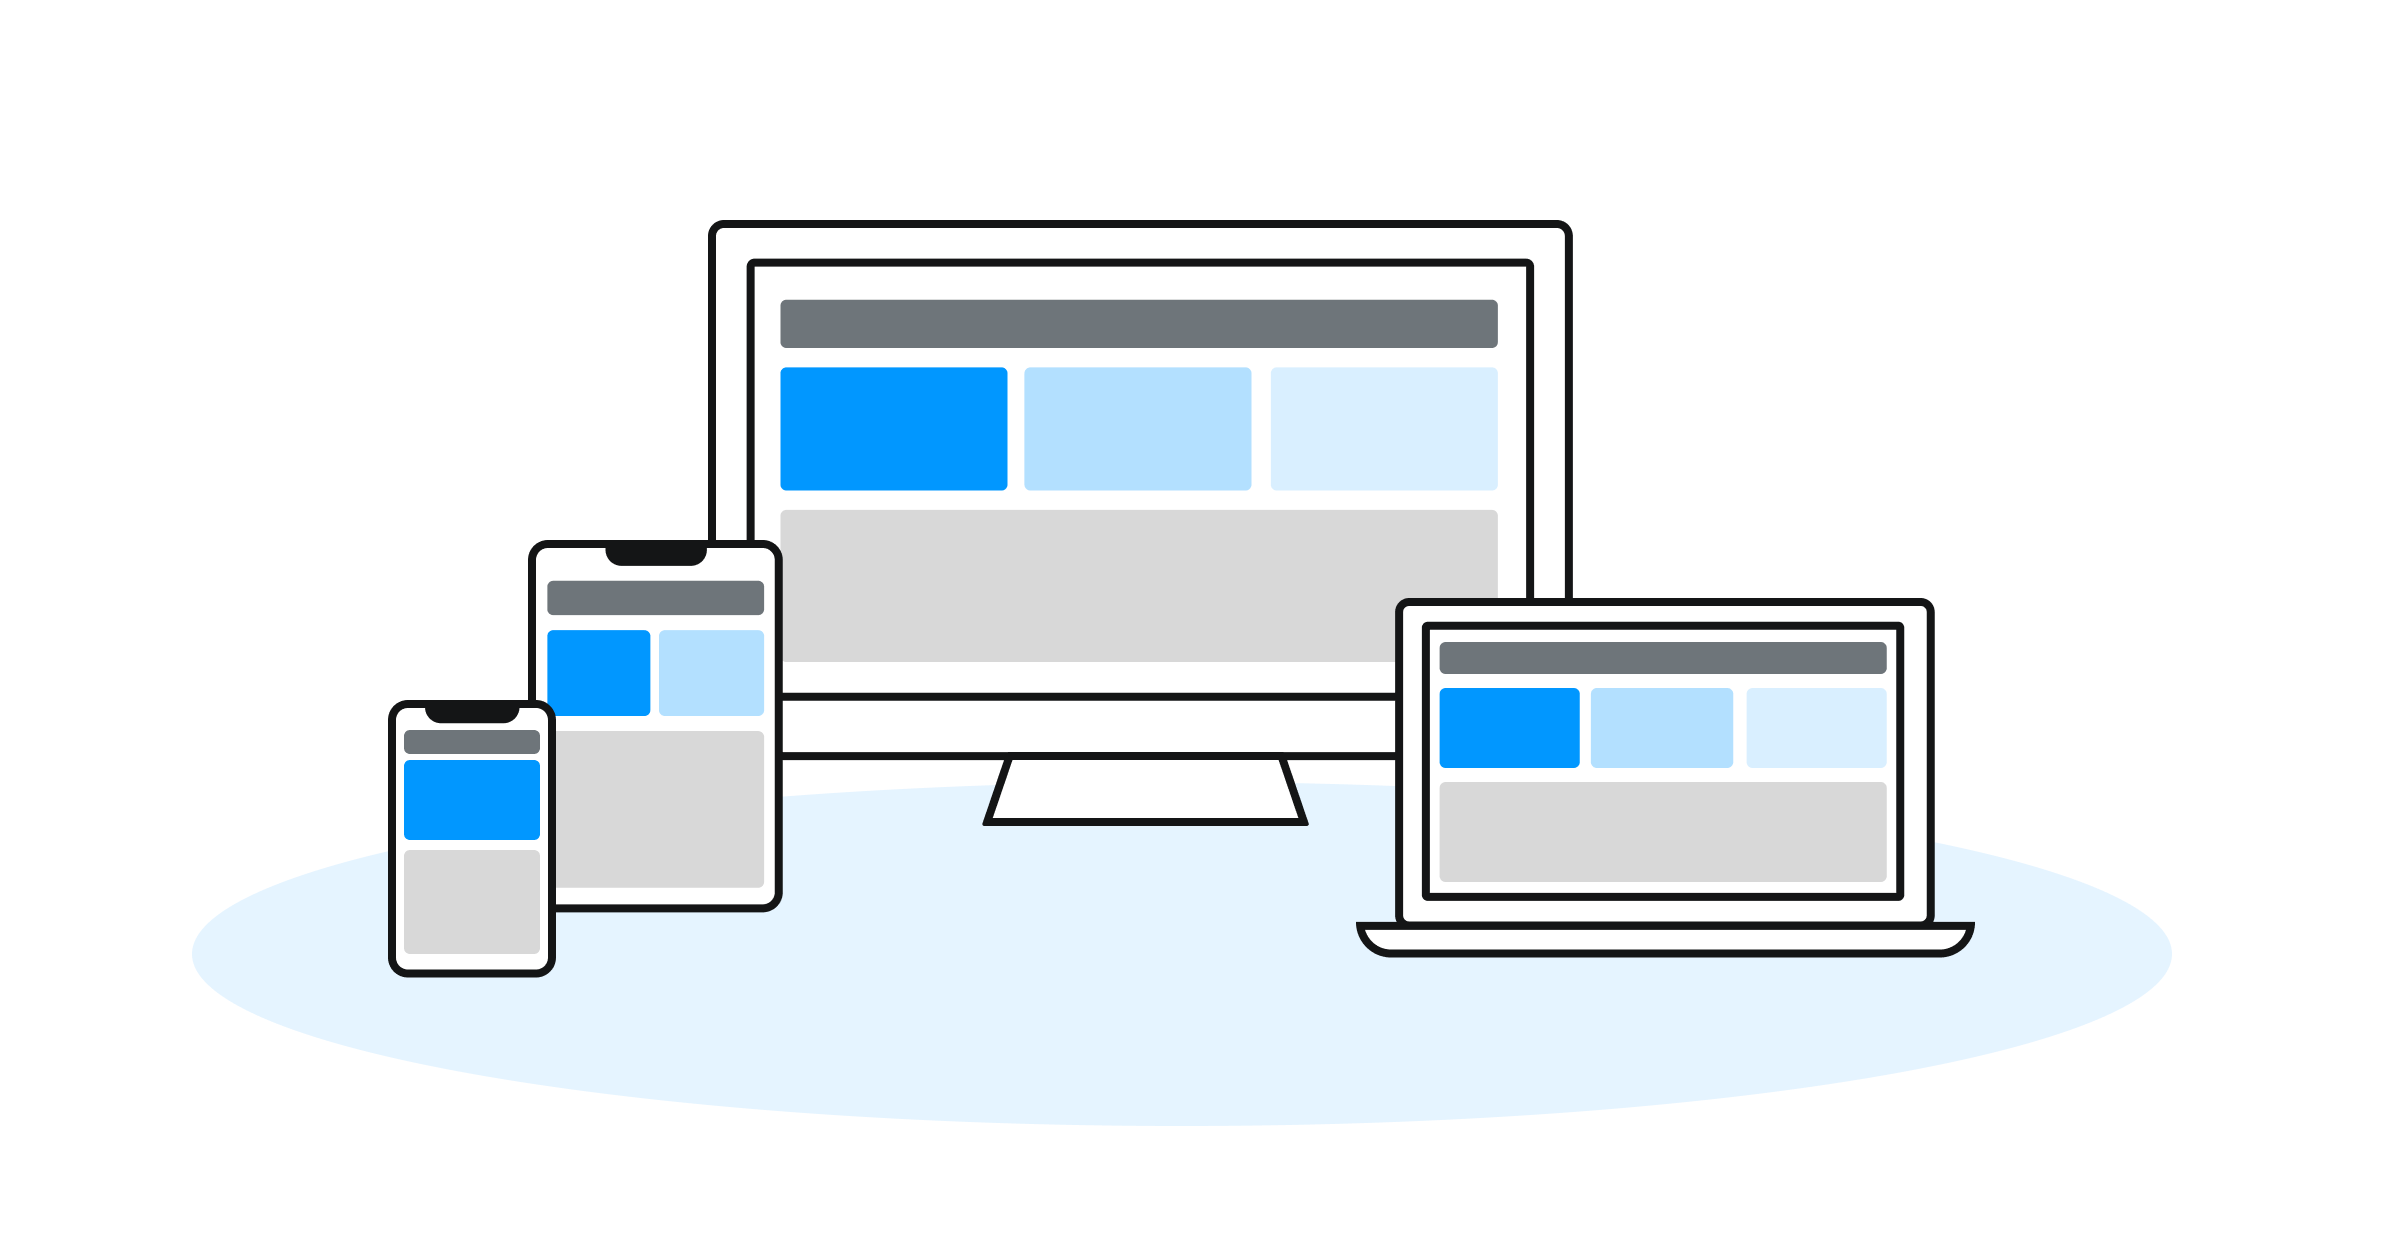
Our CTO shares how Layout Containers simplify cross-device design in Squirrel365 — and what’s next for adaptive/responsive layouts.
July 21, 2025
GET STARTED
Sign up, get building, and pay when you’re ready to launch.